Table of Contents Show
Gel manicures are very popular in the United States. This means more people want to learn how to remove gel nail polish safely. Many choose to do it at home, which is cheaper and easier.
It’s important to know how to remove gel nail polish to keep your nails healthy. Removing it at home can be easy if you know what to do. This way, you can avoid harming your nails or skin.
With simple tips, you can safely remove gel nail polish at home. This saves time and money. Plus, it lets you try out new nail colors and designs. Whether you’re new to nail polish or experienced, knowing how to remove it is useful.
Introduction to Gel Nail Polish Removal
Before we get into the details of removing gel nail polish, it’s key to understand the importance of doing it right. This helps you avoid mistakes and ensures a safe removal. Removing gel nail polish at home can be simple and convenient. Learning how to do it is a great way to manage your nail care.
Key Takeaways
- Learn how to remove gel nail polish safely at home
- Understand the importance of proper gel nail polish removal techniques
- Use the right tools and materials for gel nail polish removal
- Avoid common mistakes during the removal process
- Take care of your nails after removal to maintain their health
- Consider gel nail polish removal at home as a cost-effective option
- Follow simple tips for successful gel nail polish removal
Understanding Gel Nail Polish and Why Proper Removal Matters
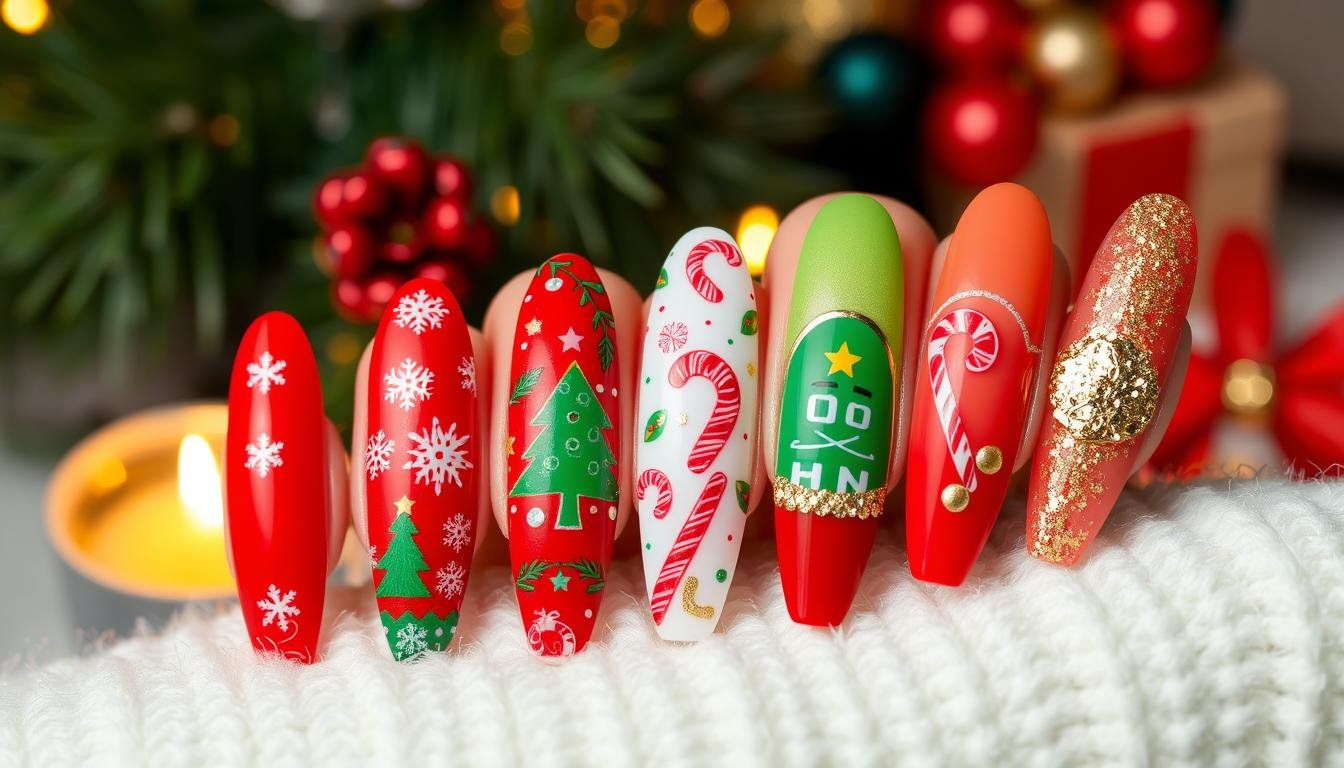
Gel nail polish gives a shiny, long-lasting finish. It’s more durable than regular polish, lasting up to two weeks without chipping or fading.
The Structure of Gel Polish
Gel polish has a special resin that hardens under UV or LED light. This makes it stick well to the nail, keeping it strong and shiny.
Risks of Improper Removal
Removing gel polish the wrong way can harm your nails. It can make them weak and even peel. It’s key to remove it properly to keep your nails healthy.
Benefits of Professional vs DIY Removal
- Professional Removal: It’s safer, removes all polish, and includes nail care.
- DIY Removal: It’s easy and cheap, but you need to be careful not to damage your nails.
| Method | Pros | Cons |
|---|---|---|
| Professional Removal | Safe, thorough, includes nail care | Costs more, requires salon visit |
| DIY Removal | Convenient, affordable | Risk of nail damage, requires proper technique |
Choosing the right method means balancing effective removal with nail health.
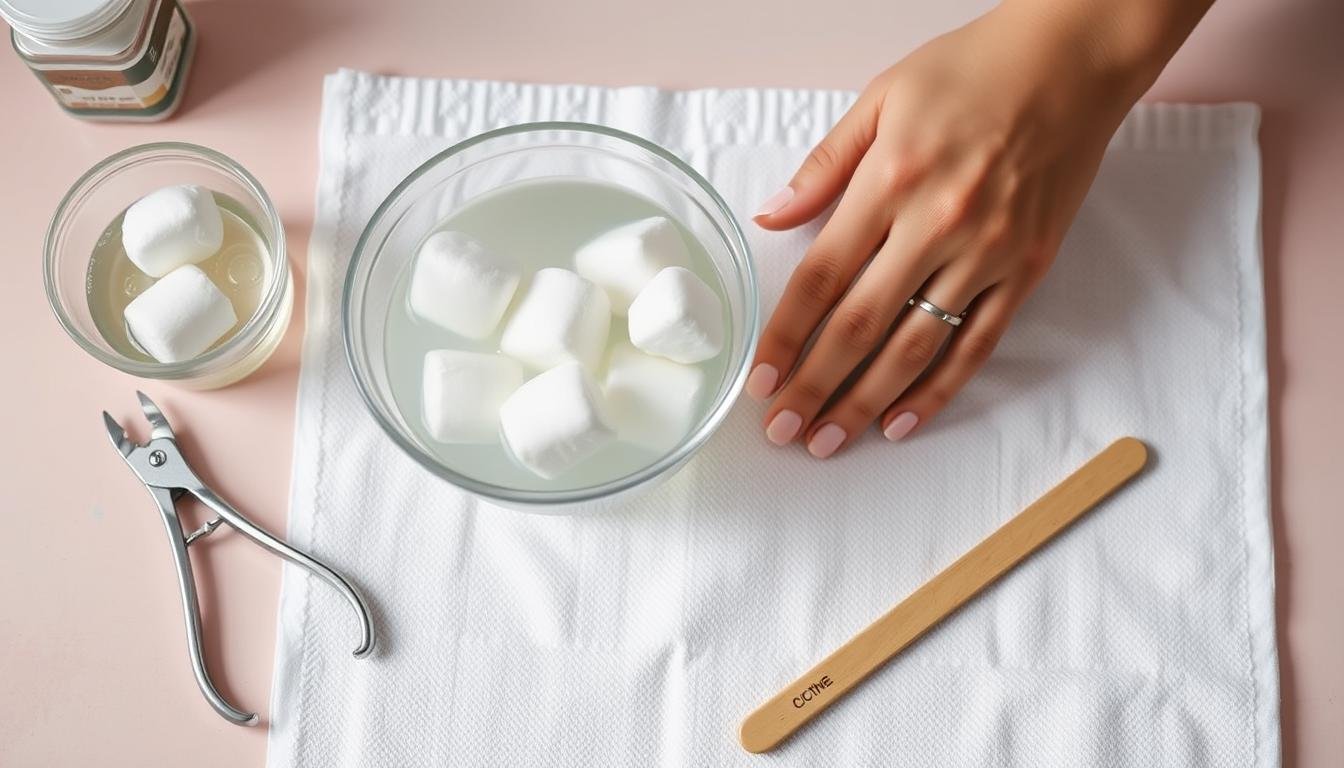
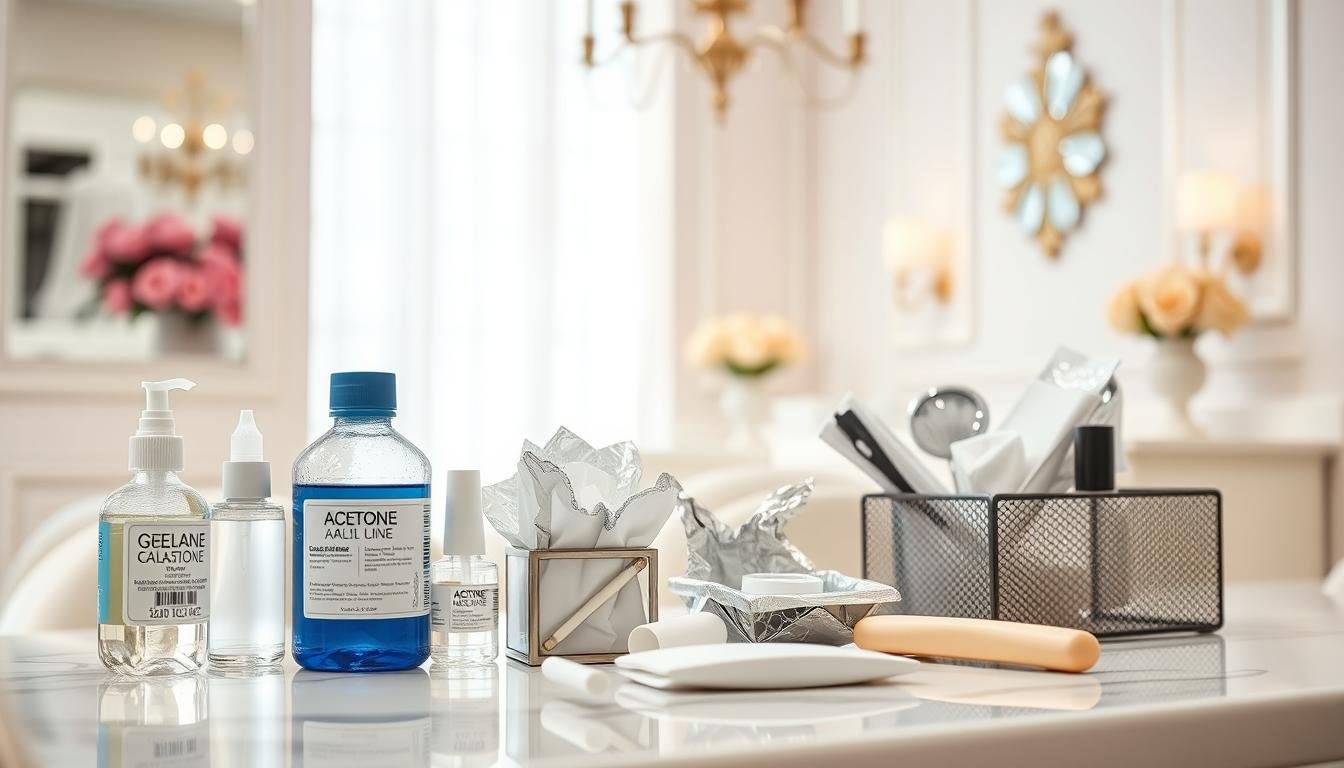
Essential Tools and Materials for Gel Polish Removal
Starting a diy gel nail polish removal project needs the right tools and materials. Here’s a list to help you do it smoothly and safely:
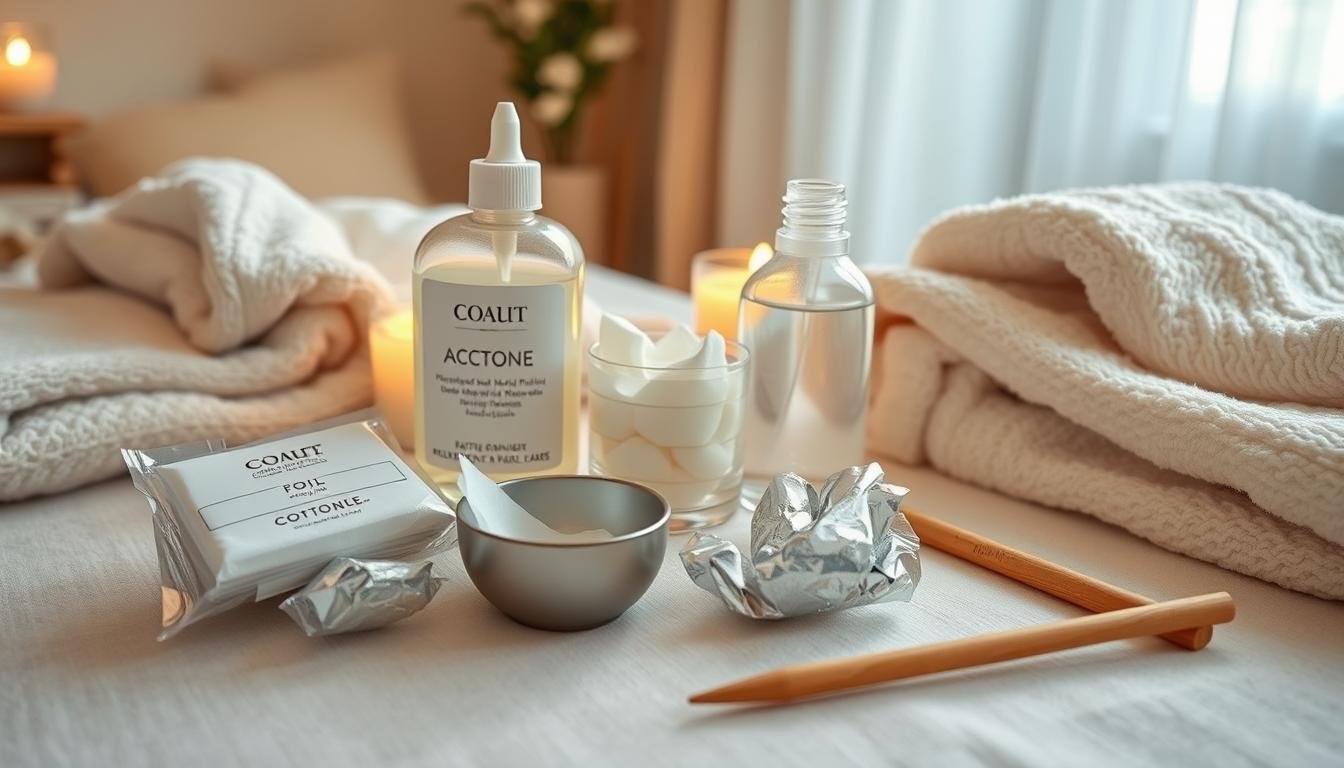
- Acetone: The main solvent for breaking down gel polish.
- Cotton Pads: Used to apply acetone to your nails effectively.
- Aluminum Foil: Helps keep the cotton pads in place during removal.
- Nail File: Gently buffs the top layer of the gel polish before soaking.
- Cuticle Oil: Rehydrates and nourishes nails post-removal.
- Buffer: Smoothens the nail surface after gel removal.
For professional gel nail polish removal, salons have all you need for a thorough and safe process. But, with affordable and easy-to-find products, diy gel nail polish removal is also possible at home. Having these tools makes both professional and diy gel nail polish removal easy and safe.
| Tool/Material | Purpose | Alternatives |
|---|---|---|
| Acetone | Removes gel polish effectively. | Non-acetone removers (less effective). |
| Cotton Pads | Apply acetone to nails. | Reusable gel remover wraps. |
| Aluminum Foil | Secure cotton pads during soaking. | Special gel polish removal wraps. |
| Nail File | Buffs gel polish surface. | Buffer blocks. |
| Cuticle Oil | Moisturizes nails after removal. | Natural oils like jojoba or almond oil. |
| Buffer | Smoothens nail surface. | Nail buffing blocks. |
Preparing Your Nails and Workspace
Getting ready is the first step in the step-by-step gel nail polish removal process. A well-organized workspace ensures a smooth and safe removal experience.
Setting Up Your Area
Start by choosing a well-lit area with good ventilation. Gather all necessary materials and keep them within easy reach to avoid interruptions.
- Bright lighting
- Ventilated space
- All removal tools organized
Protecting Your Skin
Protecting the skin around your nails is crucial. Wear gloves if using strong solvents and apply a barrier cream to prevent skin irritation.
Initial Nail Assessment
Before starting, check the condition of your nails. Look for any signs of damage or weakness to address them after the removal process.
| Tool | Purpose |
|---|---|
| Nail File | Gently file the surface of the gel polish |
| Acetone | Dissolve the gel polish effectively |
| Aluminum Foil | Wrap around nails to contain acetone |
| Cuticle Pusher | Safely remove loosened polish without damaging nails |
How to Remove Gel Nail Polish: The Professional Method
Getting salon-quality results at home is doable with safe gel nail polish removal methods. Just follow these steps to keep your nails healthy and strong.
- Gently File the Top Layer: Use a fine-grit nail file to lightly buff the shiny surface of your gel polish. This helps the acetone penetrate more effectively.
- Apply Acetone-Soaked Cotton Pads: Place a cotton pad soaked in pure acetone over each nail. Make sure the cotton is fully saturated but not dripping.
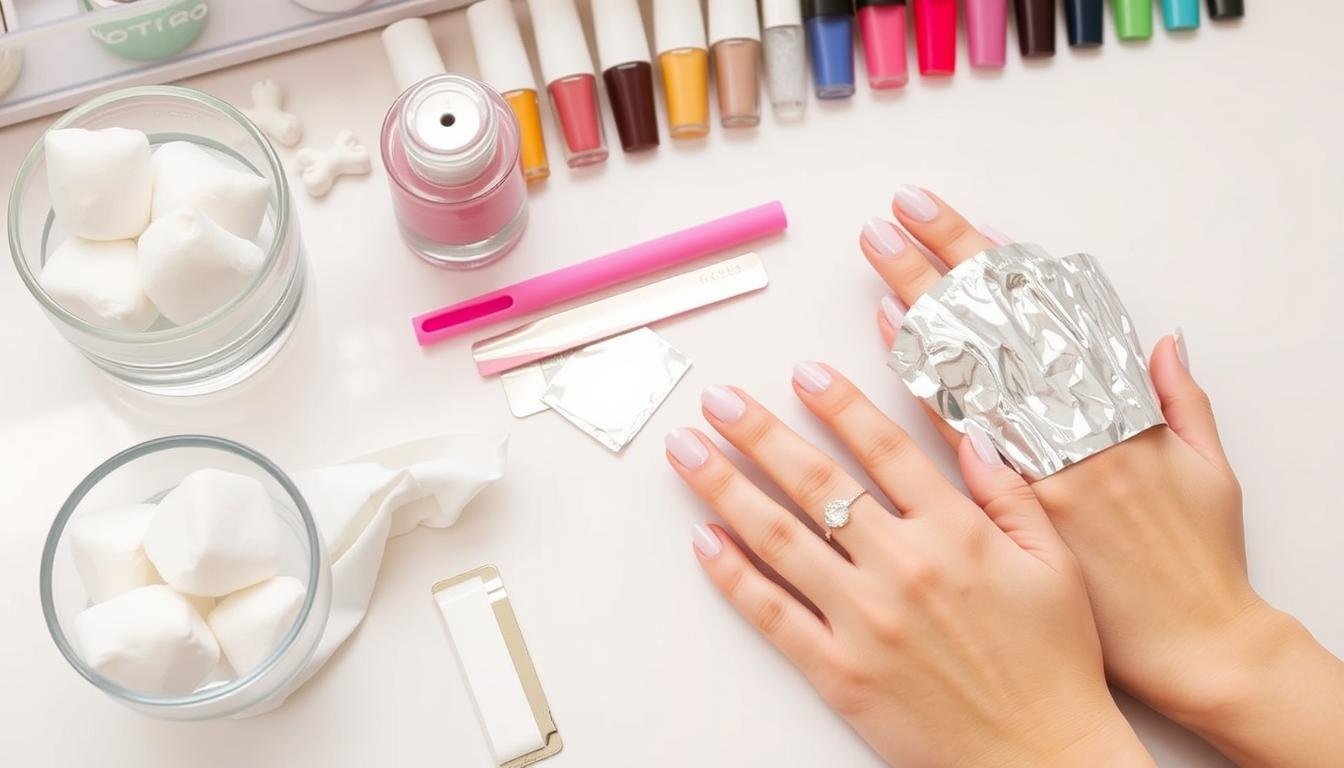
- Wrap Nails in Foil: Cut small pieces of aluminum foil and wrap them around each fingertip to secure the cotton pads in place. This traps heat, enhancing the acetone’s effectiveness.
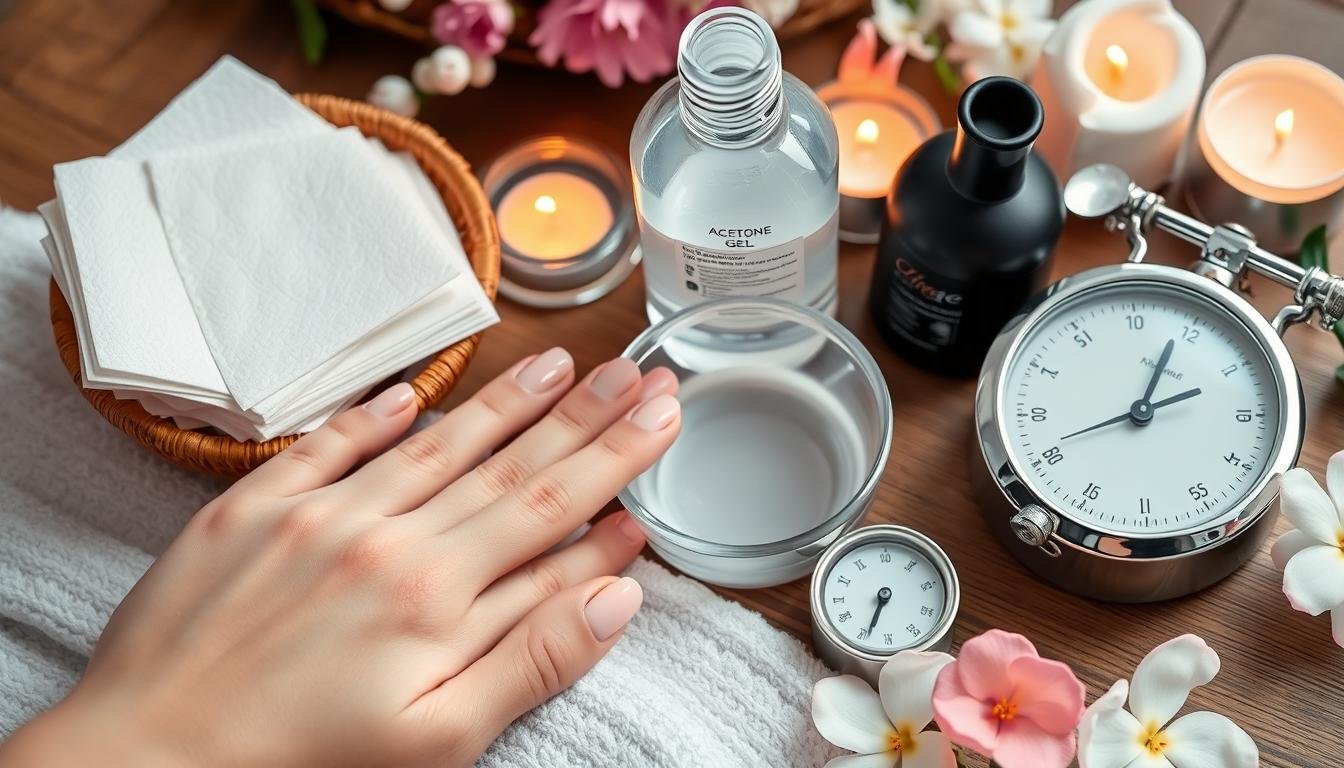
- Wait Patiently: Let your nails soak for about 10-15 minutes. Resist the urge to rush this process to avoid damaging your nails.
- Gently Remove the Polish: After soaking, the gel polish should lift easily. Use a wooden stick or cuticle pusher to gently push off the softened polish.
Remember, patience and gentleness are key to safe gel nail polish removal methods. By following these steps carefully, you can maintain the health and integrity of your natural nails.
The Foil Wrap Technique Explained
The foil wrap technique is a top choice for easy gel nail polish removal. It’s gentle on your nails and removes stubborn polish with ease.
Proper Foil Application
Begin by filing the top layer of your gel polish to break the seal. Cut small squares of aluminum foil for each nail. Soak cotton pads in acetone and place them on your nails.
Wrap each fingertip with the foil, making sure it’s snug but not too tight.
Timing and Temperature Considerations
Let your nails soak for 10-15 minutes. The right temperature is key; too hot can harm your skin, while too cool won’t break down the polish. A warm environment helps the acetone work well.
Removal Process
After soaking, gently press and lift the foil wraps. The gel polish should come off easily. If some residue stays, use a wooden stick to gently push it off.
Finish by washing your hands and applying a nourishing nail oil to restore moisture.
Alternative Removal Methods and Their Effectiveness
Wondering how to remove gel nail polish? There are a few home methods you can try. Gel removal wraps are a good option. They’re pre-soaked in a special solution that makes the gel polish easy to peel off without harming your nails.
Another method is using gel polish removers. These removers break down the gel, letting you gently wipe it off with a cotton pad. Brands like Gelish and Sally Hansen offer safe alternatives to professional removal.
- Gel Removal Wraps: Easy to use and minimize nail damage, but might require more time for tough polish.
- Specially Formulated Removers: Highly effective and gentle on nails, though they can be pricier.
Home removal methods are convenient and cost-effective compared to professional techniques. But, it’s important to take care of your nails. Follow the instructions carefully and avoid using too much force during removal.
Common Mistakes to Avoid During Removal
Removing gel nail polish needs care to avoid harming your natural nails. Knowing the common mistakes helps you remove it safely and effectively.
Damaging Nail Bed Errors
One big mistake is filing too much or using too much force. This can make your nails weak and brittle. Instead, gently file the top layer and avoid metal tools that can scratch your nails.
Chemical Safety Mistakes
Too much acetone is bad for your nails and skin. It can dry them out and cause irritation. Use acetone carefully and moisturize your hands and nails after removing the polish.
Time Management Issues
Rushing the removal can lead to incomplete removal or damaged nails. Stick to the recommended acetone time and don’t leave it on too long. This ensures the best way to remove gel nail polish.

| Common Mistake | How to Avoid |
|---|---|
| Excessive Filing | Gently file the top layer without overdoing it. |
| Forceful Scraping | Use non-metal tools and scrape gently to protect the nail bed. |
| Prolonged Acetone Exposure | Follow recommended application times and moisturize afterwards. |
| Rushing the Process | Take your time to ensure complete and safe removal. |
Post-Removal Nail Care and Recovery
After removing gel nail polish, your nails need care. Proper nourishment and protection help keep them healthy and strong.
Immediate Aftercare Steps
Start by moisturizing your nails and cuticles. Use a rich hand cream or cuticle oil to replace lost moisture. Gentle massages can also help blood flow, speeding up nail recovery.
Strengthening Treatments
Use strengthening treatments to make your nails stronger. Products with vitamins like biotin or proteins like keratin can help. Regular use keeps your nails strong and healthy.
Professional Tips for Stubborn Gel Polish
Sometimes, gel polish sticks around longer than expected. When faced with stubborn gel, patience and the right techniques are key to safe gel nail polish removal methods.
- Create a pocket of acetone by applying a thick layer over the polish before wrapping with foil. This helps the acetone penetrate more effectively.
- Use a plastic bag instead of foil. It retains heat better, enhancing the acetone’s ability to break down the gel.
- Reapply acetone if the polish isn’t loosening. Sometimes a second application is necessary for complete removal.
- Gently push off the softened gel with a wooden stick to prevent nail damage.
Always avoid forceful removal to protect your natural nails. Following these step-by-step gel nail polish removal techniques ensures your nails stay healthy and strong.
| Method | Description |
|---|---|
| Acetone Pocket | Applying extra acetone for deeper penetration. |
| Plastic Bag | Using plastic to retain heat and improve acetone effectiveness. |
| Reapplication | Applying a second coat of acetone if needed. |
| Gentle Pushing | Using a wooden stick to softly remove loosened gel. |
Signs You Should Seek Professional Help
While easy gel nail polish removal techniques at home work well, sometimes you need a pro. Knowing when to get help keeps your nails healthy and safe.
Nail Damage Indicators
If you see these signs, it’s time for a nail tech:
- Thinning Nails: If your nails keep getting thinner, it’s a sign you’re using too much.
- Splitting or Cracking: Cracks or splits mean your nails are damaged.
- Discoloration: Yellowing or dark spots on your nails are not good.
- Pain or Sensitivity: Feeling pain or sensitivity around your nail bed is a warning.
When DIY Isn’t Working
Home methods might not cut it sometimes. Get a pro if you face:
- Persistent Polish: If gel polish won’t budge no matter how many times you try.
- Difficulty in Removal: Struggling to remove gel polish without success.
- Time-Consuming Process: Spending too much time trying to get rid of the polish.
- Risk of Infection: Seeing redness or swelling around your nail could mean infection.
| Sign | Description |
|---|---|
| Thinning Nails | Nails becoming noticeably thinner than usual. |
| Cracking | Visible splits or cracks along the nail surface. |
| Persistent Polish | Gel polish that doesn’t easily come off with standard removal methods. |
| Pain or Sensitivity | Discomfort or increased sensitivity around the nail area. |
Natural Remedies for Nail Recovery After Gel Removal
After gel nail polish removal at home, your nails need some TLC. Natural remedies can help restore their strength and shine.
- Coconut Oil: Moisturizes and nourishes the nail bed.
- Vitamin E Oil: Promotes nail growth and prevents breakage.
- Olive Oil: Strengthens nails and hydrates cuticles.
- Tea Tree Oil: Fights fungal infections and keeps nails healthy.
Creating DIY nail masks can also boost recovery:
- Nail Soak: Mix equal parts olive oil and lemon juice. Soak nails for 10 minutes weekly.
- Vitamin E Treatment: Apply vitamin E oil to nails and massage daily.
“Taking care of your nails naturally not only enhances their appearance but also their health from the inside out.”
Don’t forget the importance of a healthy diet. Eat biotin-rich foods like eggs, nuts, and leafy greens. They support nail growth and strength.
| Natural Ingredient | Benefit | Usage |
|---|---|---|
| Coconut Oil | Moisturizes and nourishes | Massage into nails daily |
| Vitamin E Oil | Promotes growth and prevents breakage | Apply and massage nightly |
| Olive Oil | Strengthens and hydrates | Soak nails for 10 minutes weekly |
| Tea Tree Oil | Fights fungal infections | Add a few drops to nail soak |
Conclusion
Removing gel nail polish can be simple and safe if you follow the right steps. Use the right tools and techniques to protect your nails and keep them healthy.
Before you start, make sure your workspace and nails are ready. These tips for removing gel nail polish help you avoid mistakes that can harm your nails.
After removing the polish, take care of your nails with strengthening treatments and natural remedies. This way, you can enjoy beautiful gel nails while keeping them strong and healthy.
By focusing on nail care before, during, and after your gel manicure, you can get the best results at home. Follow these methods to keep your nails healthy and enjoy the benefits of gel polish safely.